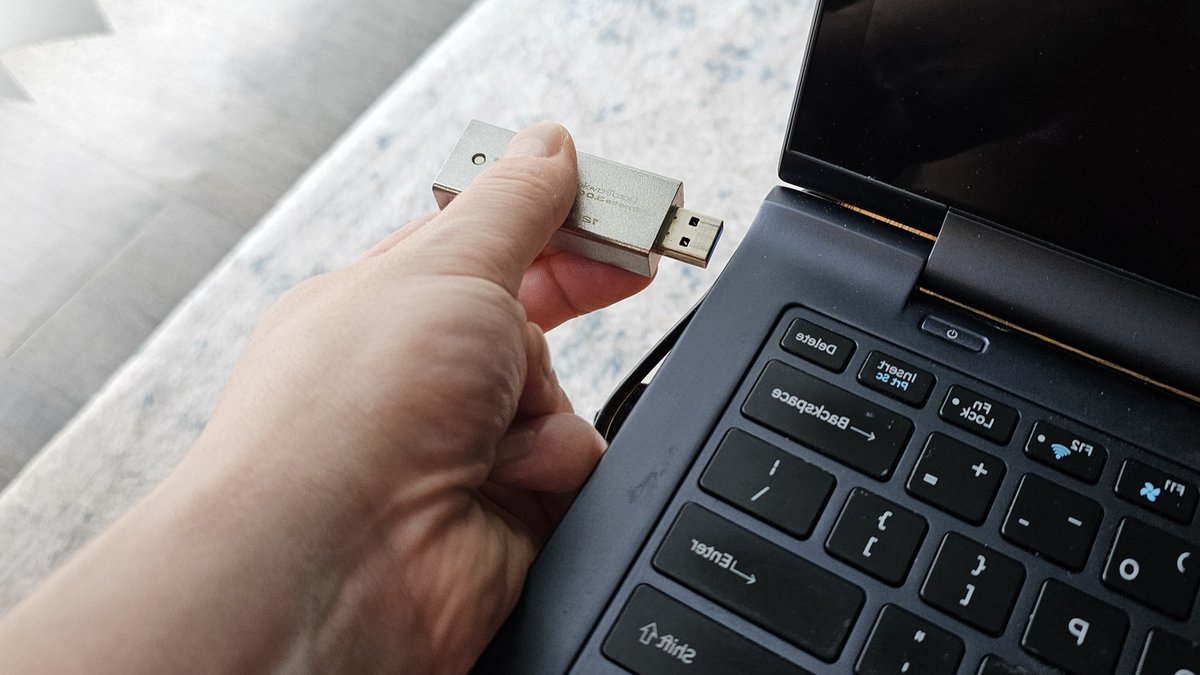
Knowing how to format a USB drive on Windows is a basic skill that saves time and prevents headaches. It is a common misconception that formatting is only for wiping a drive full of files you no longer need. Whether you find a drive that is simply not compatible with your operating system or have the displeasure of encountering corrupted data, formatting sets the device back to a like-new state and wipes the slate clean. The process does more than just delete files; it overwrites sectors so previously stored data cannot be recovered, sets up the file system anew, and scans for bad sectors. It is always a good idea to format a USB drive before reusing it, even if you have deleted all the files previously stored on it. Formatting will wipe out any latent ghost files, clear out any hidden malware, and optimize the drive for stability.
USB drives of all kinds come from the factory with configurations that support broad compatibility but may not match your specific needs. Flash drives in particular, from brands like SanDisk and Kingston, tend to come configured with an older file storage format called FAT32, which has broad compatibility but cannot handle files larger than a few gigabytes.
Related: X replaces revenue sharing with content rewards program
There are three main storage formats for a drive you will use externally with a Windows system. Windows itself uses NTFS for internal drives due to its support for partitioning and encryption, among other things. If you plan on using your USB 2.0 or 3.0 drive exclusively with Windows systems, NTFS is the best choice. However, you should not use NTFS if there is a chance you will be plugging your drive into a Linux, Android, iOS, or macOS system.
For non-Windows operating systems, the storage format with the broadest compatibility is exFAT. It can handle large files of more than 4GB, so if you plan on using the drive to gain more storage on an Android phone, or to store movies and 4K videos, compressed archives, and so on, exFAT is the de facto choice. While it lacks some of the more advanced features supported by NTFS, it is well suited to thumb drives and basic portable SSDs.
You may also notice an option labeled FAT32, which is the older version of the format. If you foresee using your drive with an older device like a car stereo or an ancient printer, FAT32 has the most compatibility of any format and works with just about anything that has a USB port. However, it has serious limitations that render it a bad option for modern use cases. It cannot support files larger than 4GB and is more prone to fragmentation than newer formats. Windows 11 may not play nice with it, either, depending on your use case.
Related: T‑Mobile acknowledges mistake, aims to restore free lines
For a newcomer, the choice often comes down to a trade-off between file size limits and device compatibility. NTFS is the safest bet for a computer-only workflow where security and large file sizes are priorities. If you need to move data between a Windows machine and a smartphone or another computer, exFAT is the practical standard. FAT32 remains relevant only when interfacing with legacy hardware that predates modern operating systems.
The Formatting Process
The actual process of formatting the drive is pretty simple. Just plug the USB storage device into a high-speed USB port, then open Windows Explorer. Click This PC on the left-hand navigation panel, then right-click the drive and select Format. Be sure you are selecting the correct drive, and that you have closed any programs that might still be using the drive or any files on it.
Related: Ford unveils first electric midsize truck
The Windows formatting tool offers a number of different file formats, which can be selected from the second dropdown menu. As discussed above, choose exFAT if you plan on using the USB drive with non-Windows devices such as Android phones, Linux computers, or Macs and iPhones. If you’ll exclusively use it with Windows, you can choose NTFS. You can leave file allocation set to the default, which for most modern USB drives is either 32KB or 128KB when formatting to exFAT. If you plan on using the drive exclusively for storing large files, like games, you can choose a higher value, and you can choose a lower one if you have a lot of very small files like text notes. As a rule of thumb, the larger the drive is and the larger the files you want to store, the larger you can make the allocation size.
Under Volume Label, enter a custom name for the drive, if you want one. Click Format, and then click OK on the confirmation that appears. Depending on the size of the drive and how full it is, formatting can take anywhere from a couple of seconds to several minutes. Another pop-up will appear once formatting is complete. Confirm and close out of the formatting tool, and you should now have a freshly formatted USB drive.